 FINALLY…. I put up a Make up tutorial. This has been a long time coming. I am obsessed with make up and doing make up. I have no clue why this has taken me so long.
WATCH THE MAKE UP TUTORIAL HERE
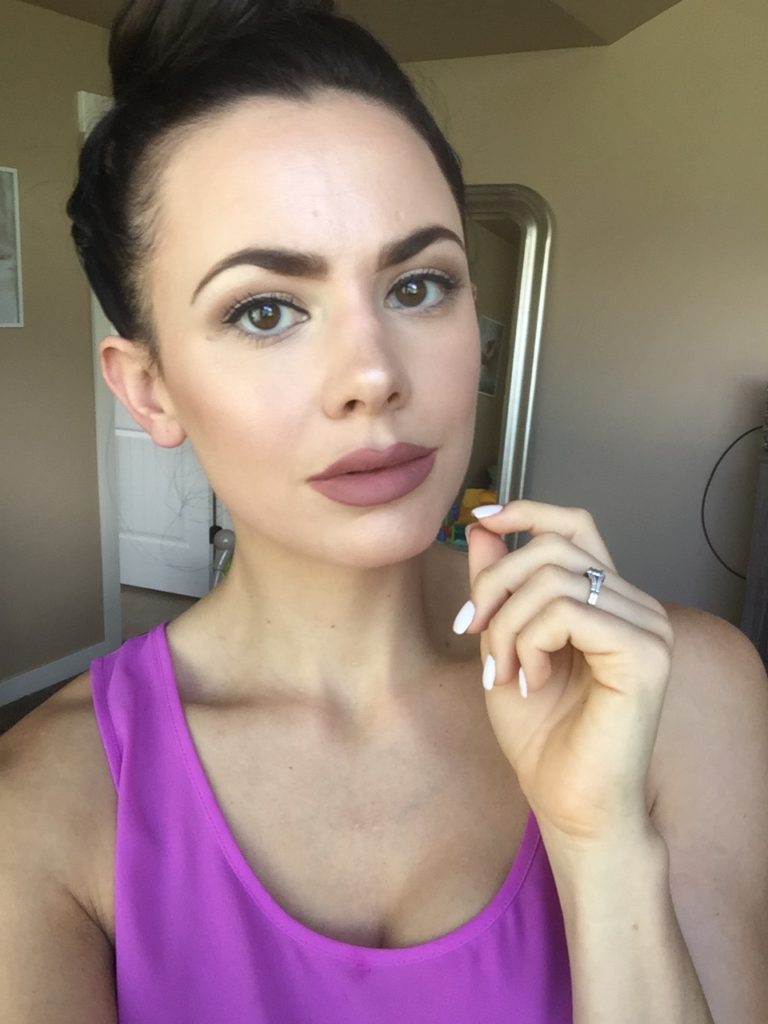
Ever since having Oaks, I like the bare minimum natural look a lot more. Usually if I am wearing lashes when I go out, or if I have a special shoot, or if I feel like it 🙂 which right now in my life, I don’t! So here we go!
Prepping your face
Step 1: Cleanse your face. It is so important to prep your face before putting on another layer of make up for the day. You want to make sure that your face is nice and clean. I have been using this Meg 21 cleanser, but I also love this Bare Minerals cleanser Step 2: Apply Bare Minerals Bare Haven moisturizer. Step 3: Apply Elta MD UV Clear SPF 46. Always, always, ALWAYS apply an SPF every single day before you apply make up. Thats right, every single day. Even if its winter. That walking to your car for 2 minutes will add up over the years my friends. It is so important to keeping your skin looking young. No one wants premature wrinkles, or even worse, skin cancer. SO APPLY pretty please. Step 4: Apply Pores No More This stuff is AMAZING fyi.
Now starts the make up
Step 1: Estee Lauder Double Wear Foundation (I use Pure beige 2C1) Apply with Oval Brush Step 2: Light Boost Prep & Prime from Mac, Apply with Beauty Blender Step 3: Apply Prolong Wear Paint Pot in “Paintery“ from Mac on eye lids. Apply with 195 Concealer Brush Step 4: From Buxom Eye Shadow Palette apply “Matte Camel” with 217 Blending Brush from Mac. On eye crease. Step 5: From the same palette, apply “Gold Metallic Brass” on eye lid with Large Flush Brush from Mac. Step 6: From the same palette, apply “Metallic Java” in corners of eyes with 217 Blending Brush. Step 7: Black Track from Mac for eye liner, using the 209 Eyeliner Brush Step 8: Curl your lashes with a Lash Curler. Then Apply Super Volumized Lorel Mascara. White first, then black. I swear by this mascara. Its the best! Step 9: Apply Mac “Think Kink” Eye Shadow on the corner of your eyes and below your brows with 195 Concealer Brush. Step 10: Comes my favorite part. Brows. Apply Brow Zing using the cream one with the angled brush inside the palette. Start at the bottom and work your way out. Then Apply the powder on top with the 266 Small Angled Brush. Brush your brows UP with the Anastasia Brow Wiz, and then slightly pencil over it one more time. Step 11: Contour with the Anastasia Palette. Starting with the light shade, using the Bare Minerals Dual contour brush. Apply the light on nose, under eyes, upper lip and chin. Then apply the darker shade with the same brush on the darker side of brush, under cheek bones, on top of forehead, and below jawline. Use the 219 Pencil Brush to contour your nose.
Finish touches
Step 1: Using the Anastasia Glow Kit apply “Mimosa” on cheek bones, nose, chin and upper lip with Pro Feather weight Fan brush . You only need a little. Then apply “Crushed Pearl” In the same areas with the same brush.
Step 2. Apply a little Ben Nye Pink Powder all over face with the Bobbi Brown Bronzer brush. Step 3: Candy K lip liner and Gloss from the good old famous Kylie Lip Kit. It is awesome by the way. It feels like I have nothing on. So definitely worth the money. Anyways, she restocks every Tuesday around noon on her website. Lastly I use Prep and Prime Finishing Mist from Mac. It keeps my make up lasting longer! Make sure you subscribe to my YouTube channel, so you can keep updated on my work outs, and beauty tips, plus many many more exciting things to come!

xox,